Welcome back! Let’s cue things up for Problem Immersion. Now that we’re officially ready to get things going, this week we’ll build the foundation, kickstart brainstorming, and set your team up for the coming weeks.
You may also want to do a capacity and culture check to ensure you’re embarking on this journey at the right time and with the right team supporting you. View our Digital Innovator Starter Guide for a quick decision tree check-in.
Drawing Board: The How & Why
This week we’ll dig into the Drawing Board. In large part, this is exactly what it sounds like; a starting place to gather the team and set the focus, built initially around the Problem Statement draft, and a place to keep referring to as the process progresses.
Remember, it’s important to have the homework from the previous post done at this point. Check it out here if you’ve missed anything.
As we get started, here are a few things to do this week, but before the Drawing Board meeting kicks off:
- Come with your initial Problem statement draft. We keep talking about it, but it’s just that important (we even put this in our agreements with our partners). We’ve learned that everything starts here, so we’ll use this first Drawing Board to continue crafting it.
- Build a culture of excitement (!) with your team. Think about the tone you want to set, and keep the excitement up! This is one of those little things that can come into play in much-needed ways. And of course, never underestimate the value of bringing good snacks. And music. And then more snacks. And the celebration emoji.
- Strike a human tone. As you prepare with your team, start by putting aside words like revenue and engagement and talk about words like impact, people, empathy, and compassion. As you continue the process, these ideas will come into play, but… not yet. Right now, keep things on a human level, and give yourself the freedom to think beyond these limiting words.
- Create and bring an agenda. Yes, this might sound surprising. Bring an agenda to a free and flexible brainstorming session. Trust us when we say, it’ll make a big difference. Even if it’s written on the back of a napkin, having a game plan will help keep your time focused. And don’t worry, we’re about to give you all the details on the one we use, so just keep scrolling.
How can we successfully workshop problem immersion when we’re not together?
For some of you this won’t be a problem, but for others (and often for us as a distributed team at CauseLabs) we’ve found this to be a common situation. Whether you’re distributed across town or around the world, this doesn’t have to keep you from collaborating.
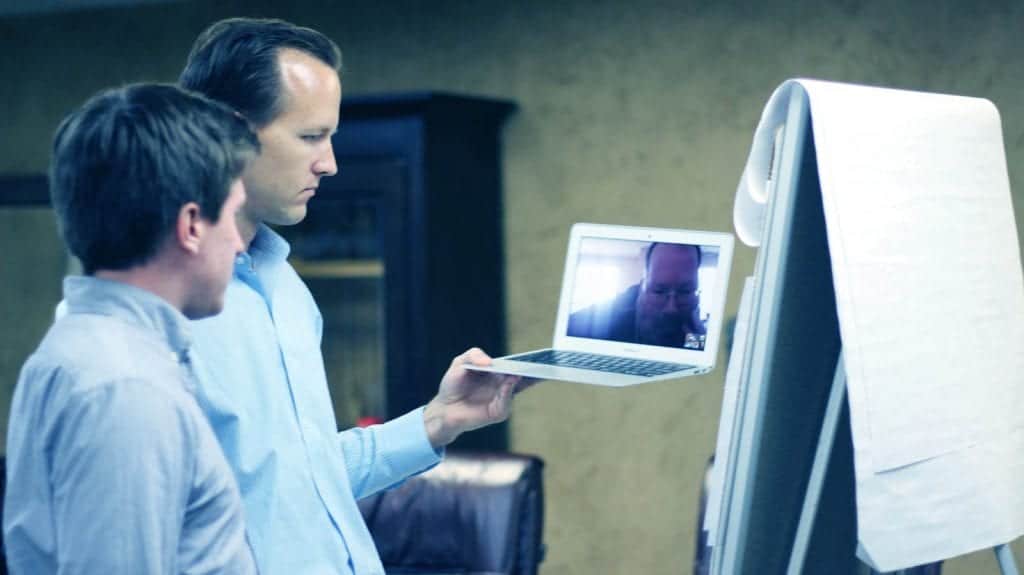
The decision on how to meet is entirely up to you, and it can be as flexible as your problem will allow. If you’re dealing with a challenge focused on a specific neighborhood, find time to go there and meet nearby. Or if you’re dealing with a technology problem that could be solved from anywhere in the world, your Drawing Board could be organized with a shared Google Doc and Hangout or Zoom. Either avenue works.
Drawing Board Agenda
OK, this is it! It’s time to walk you through, step by step, how to run this first Drawing Board. As a rule, we try to stay carefully time-boxed during these activities on the agenda. This will help you ensure that no stray conversations keep you from getting a clear picture of the problem, and it will keep the energy and ideas higher during your time together. For example, knowing you only have 10 more minutes to unpack the problem will keep the ideas churning faster!
To get you started, let’s walk through a typical agenda:
- 10 Minutes: Ice Breaker
- 5 Minutes: Introduce the Problem
- 30 Minutes: Unpack the Problem
- 30 Minutes: Dreaming/Ideation Session
- 15 Minutes: Closing, Homework, Discuss next Drawing Board
Total: 90 minutes
10 Minutes: Icebreaker
Even if you know your team well, set the tone with a creative icebreaker. From the silly to the mindful, it’s 10 minutes well spent. Here are a few examples of icebreakers we like to use:
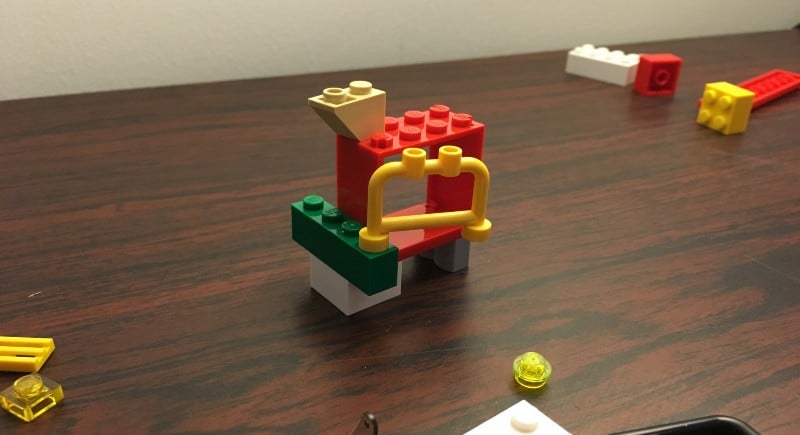
Build a duck.
This will be a fun, fast, creative way to kickstart things. In two minutes, ask everyone on the team to build a duck out of 6 LEGO pieces constructed from a small, very random pile. Because no one will have all the right pieces, it’s a great example of this process as a whole (quick, iterative, problem-solving, and creative) and is a fun way to get the team laughing and thinking all at the same time. And c’mon, playing with LEGO is just fun.
Clear the mind and reset.
If you’re sensing the need to account for a stressful day, try a quick mindfulness session to kick things off in a calming way. Breaking the ice is mostly about setting the tone, so use this method if you think it’s most needed to create some mental space. A surprisingly easy way to do this: download the Headspace app, put it on speaker on your phone, and run through the first session calmly as a team together.
5 Minutes: Introduce the Problem
Now that you’ve broken the ice, introduce the initial draft of the problem statement you created and take the time to rally the team around it. Keep in mind this isn’t a time of brainstorming or consensus building — it’s simply a baseline to get things started. Explain to everyone that this draft is simply a starting point, and it will continue to be framed, now together as a team, as you move forward. Basically, this is just the jumping-off point to get things started.
30 Minutes: Unpack the Problem
Building upon your problem statement, let’s start unpacking the details, beginning by focusing on the people experiencing the problem. Here are the things to start thinking about now:
- Who are the people involved? What are their pain points?
- What do you know about them? What do you want to know?
- Where is this problem being experienced?
- What are the edge cases? Who is experiencing those the most?
- What are your hopes? What are your fears?
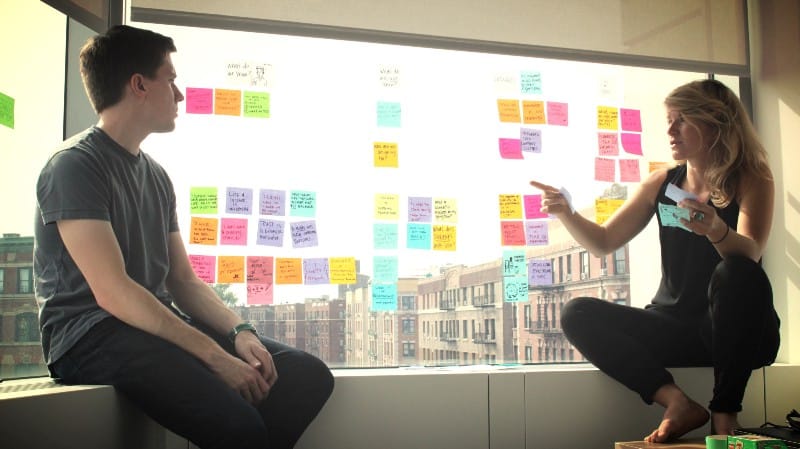
Start organizing some of these basics, either on the walls with Post-its, on a whiteboard, or on your Google Doc, and start grouping themes that emerge.
What this process will reveal is facts about the problem, but you’ll be doing it all in a human-centered way. For example, if you’re working on a problem with the local food bank, that location is where the problem is. But how that food bank’s location is affecting people is the real question. This process will require you to think about the problem details and the people details all at the same time.
15 Minutes: Kickstart Brainstorming
At this point you should have a wall or sheet of basics started and the groundwork laid, so it’s time to start thinking about what it all means.
In this time, we’ll start warming up new mind muscles that we’ll use throughout this entire guide, but you have to start somewhere, so, like we did during problem unpacking, we often like to start with something structured. Later, more free-form brainstorming sessions will happen, but for now, a little organization and excitement are good.
To start taking the training wheels off, one thing we like to do that is super useful (that will initially feel silly because it kind of is) is to have an ideation relay race. Here’s how it works: divide your team into even sides and put two sheets of white butcher paper on the wall (or use a whiteboard or digital space to write in). Then, in 3 minutes, start the relay (like you did at your school field day in 3rd grade) passing the marker back and forth as one team member puts an idea on the wall. This quick game is all about standing up, being active, and getting as many ideas going as possible. It’s great for encouraging those wild ideas that you might not have said without a playful environment.
30 Minutes: Ideation Session
Now that we’re baselined with a focused stack of facts and ideas to build on, take this next block of time and dig in. Truth is, there’s not a magic guide for this part, though here’s an idea of something we like to do:
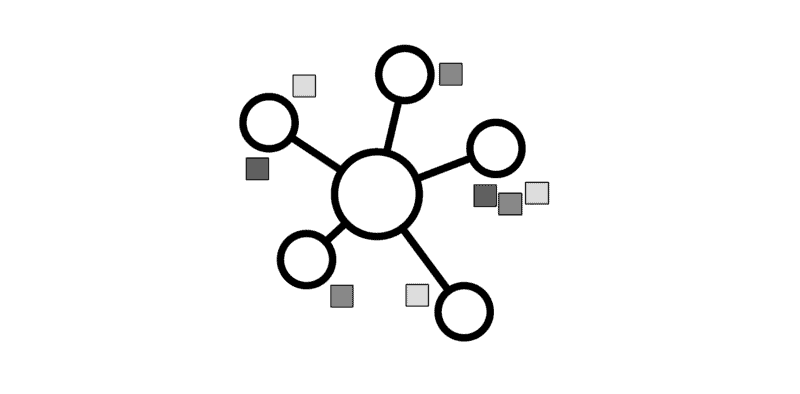
Draw the Problem: To start organizing the building blocks and ideas you’ve brainstormed, start by literally drawing out the problem. If you’ve done this in the past you might have called it system mapping or mind-mapping, but don’t worry, those are just scary words for something pretty simple. A good place to start is to write or draw out the ideas that felt most central or kept coming up, and draw lines and connection points between them. Think about how they’re connected, and whom they are connected by. Then, start thinking about what the connections should be, adding new points and detail by drawing or writing along the paths. This process will open up new directions and will start to become a visualization of your brainstorm. If you can, this is a great thing to keep up and available to the team, then keep adding to it in next week’s Drawing Board.
15 Minutes: Close, Next Steps
In these closing few minutes, keep going if the brainstorm is really rolling, or close up shop and go over the next steps. Remember in this time to keep the momentum up, and maybe most importantly, create a few homework assignments for everyone and divvy up the effort that will be needed between now and the next Drawing Board.
Homework Idea: Touchpoint Outreach
We love to get as many people outside of ourselves involved as much as possible, so even if the problem you’re trying to solve is in your organization, don’t let that keep you from reaching out beyond your team. Brainstorm and divide up opportunities as a team to reach out beyond yourselves. Maybe that’s an expert in what you’re curious about, a person who might benefit from your solution, or someone in your organization who could look at your problem in a new light. Either way, don’t forget: The insights you get from others are often the exact ones you need to start looking at your problem differently.
Wrap-Up and Next Steps
So that’s it for now! As you wrap up, have the Organizer or project lead write a follow-up email after the conclusion of this first Drawing Board meeting. It’ll be a great way to keep everyone’s minds going between official sessions and a helpful recap to bring into the next Drawing Board meeting.
Before next week, take time to keep thinking and dreaming up as many ideas as possible and begin imagining prototypes or conversations you could have to help the process along. Don’t forget to take a break, enjoy some deep breaths, and clear your head of the problem, and bring that newness to the next session. Get excited! (Remember? ?) More to come soon.